How to Make a Basketball Highlight Film That Gets You Recruited
A step-by-step guide to building a basketball recruiting reel college coaches actually watch — structure, length, footage, music, and the mistakes that get films skipped.
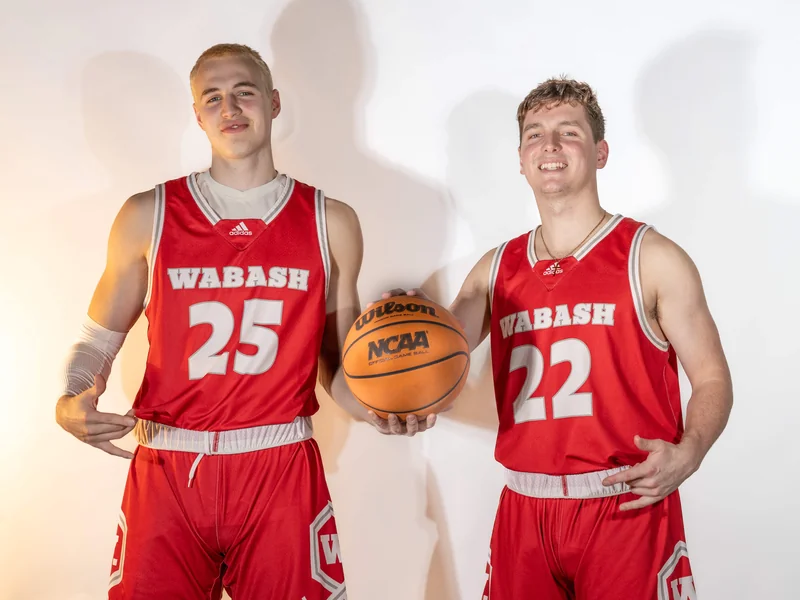
Mack Media started in 2017 filming AAU basketball highlight films — the founder was 13, charging $8 a video. Since then we’ve filmed grassroots circuits, Nike EYBL sessions, and athletes who went on to the NBA and MLB. This is the guide we wish every player and parent read before spending money on a reel.
The one rule: coaches decide fast
College coaches watch recruiting film in volume, and they don’t owe your video their attention. Assume the decision to keep watching gets made in the opening plays. Every choice below follows from that.
Structure: best plays first, no warm-up
The classic mistake is building a film like a movie — intro graphics, music build, then highlights. Flip it.
- Open with your three to five best plays. Not chronological. Not “a little of everything.” The plays that prove your level — that’s the front of the film.
- Group by skill after that. Shooting, finishing, defense, passing — blocks of evidence, so a coach looking for a specific answer (“can this kid guard?”) can find it.
- Keep it 3–4 minutes max. If the film is long because you can’t choose, that’s the film telling you what to cut. A tight three minutes beats a padded six every time.
Footage: what actually works
- Angle: elevated midcourt beats baseline. Coaches want to see the floor — your spacing, reads, and defensive positioning, not just the finish.
- Full plays, not clips of outcomes. Show the cut that created the layup, the closeout before the block. Coaches evaluate process.
- Quality floor: steady, 1080p minimum, and the ball visible. Grainy far-corner phone footage costs you plays that deserved to make the cut.
- Spot shadows or arrows sparingly. One clean indicator at the start of each play — a circle that follows you around the court for 15 seconds reads as amateur.
If you don’t have usable footage yet, that’s the real starting point: get your key games and showcases filmed properly this season. That’s exactly what our basketball videography team does — game coverage shot with the reel in mind, so the film edits itself later.
The details that quietly matter
- Your info on the first screen and the last: name, grad year, position, height, school/club, GPA if it helps, and a phone/email that gets answered. Coaches screenshot this.
- Jersey number and color on screen for every game segment — make yourself effortless to track.
- Music: clean edits, low drama. The coach is muting it anyway; make sure the film works silent.
- File and title: “First Last — 2027 PG — Spring 2026 Highlights.” Coaches search their downloads.
Mistakes that get films skipped
- Opening with a montage of dunks in warmups (empty-gym highlights convince nobody).
- Five minutes of only made shots — no defense, no passing, no context.
- Footage where the coach can’t find you.
- One film for your whole career. Update it every season; programs want current.
- Waiting until senior year. The film that changes your recruiting is usually the sophomore/junior one.
DIY edit or professional film?
If you have good footage and patience, a solid DIY edit following the rules above genuinely works. Where a professional film earns its cost: game footage shot for the purpose (right angle, right settings, you always findable), editing judgment about which plays actually translate to the next level, and delivery that looks like a program took you seriously.
We’ve built reels that helped athletes get college looks and, in some cases, go far beyond them — our athlete roster speaks for itself. If you want a film built by people who’ve watched what works at every level, tell us about your season. We reply within 24 hours.
Ready to Work With Us?
Whether it's a highlight film, wedding, NIL campaign, or brand project — let's talk.
Start a Project